Just a quick example ...
1. Make a new A3 document (prederably at 300dpi minimum).
2. You can either use the '
View --> New Guide..' menu item to postion your horizontal and vertical guides if you know the measurements you require,
OR, drag guides from the ruler bars to the top left-hand corner of the sheet and when you position your logo it will snap to the guides. You can then postition two more guides that snap to the outer edges of the logo and continue in this fashion.
3. Once guides are placed, put your logo on a layer and right click the layer and select, '
Convert to Smart Object.' This will convert your logo layer to a Smart Object. Editing this object later will apply the edits automatically to all logos on the page.
- vB_ID:4758
- DSF3.jpg (87.95 KiB) Viewed 529 times
4. Right-click your logo layer and select '
Duplicate layer ...' to duplicate the logo on another layer. This will be another Smart Object. Postion the logo (using the methods in point 1 above) and duplicate as many times as necessary.
- vB_ID:4758
- DSF3.jpg (87.95 KiB) Viewed 529 times
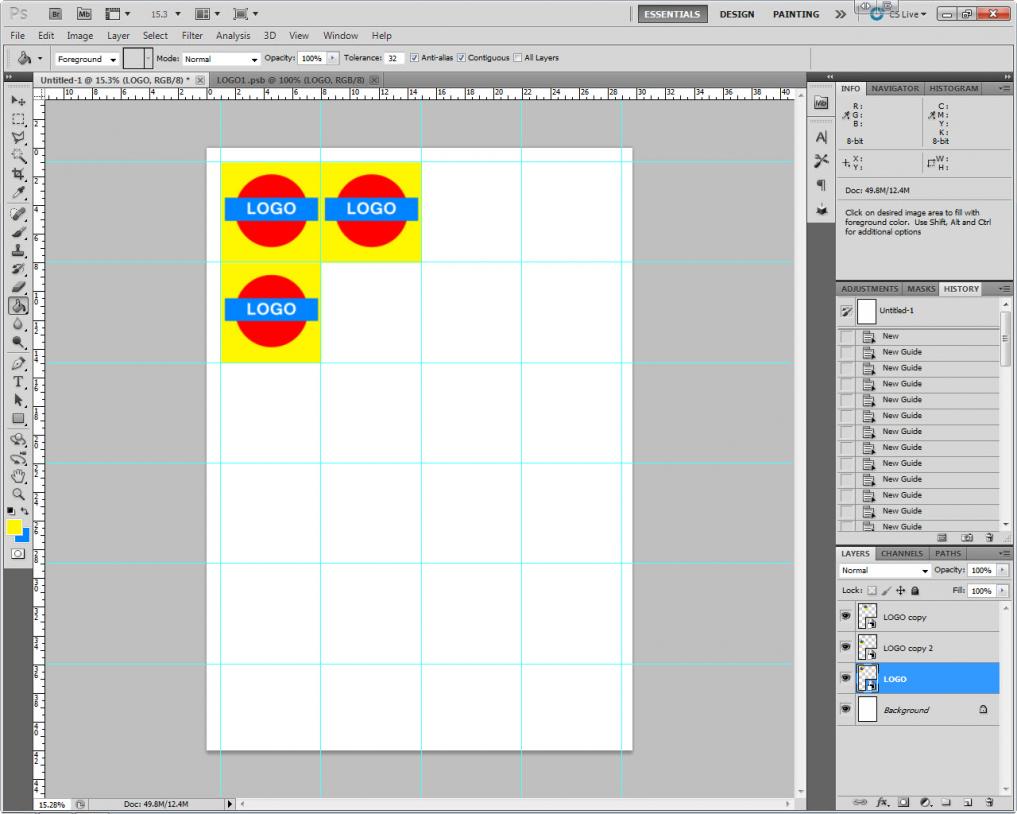
5. Once the page is filled to your satisfaction, you can print it, or, if you need to edit the logo (for example, I have changed the background to yellow), simply double-click the ICON in the original logo layer (
not the layer name) and a new document will open with the full logo. Do any changes then (IMPORTANT!)
save it straight away, by either clicking '
Save' in the menu, or pressing '
CTRL+S' keys, or close the tab and select '
Save' from the dialogue.
- vB_ID:4758
- DSF3.jpg (87.95 KiB) Viewed 529 times
6. Going back to the original document , you will see that
ALL the logos have changed with just one edit.
- vB_ID:4758
- DSF3.jpg (87.95 KiB) Viewed 529 times
Hope that helps a bit, even if over-simplified.
